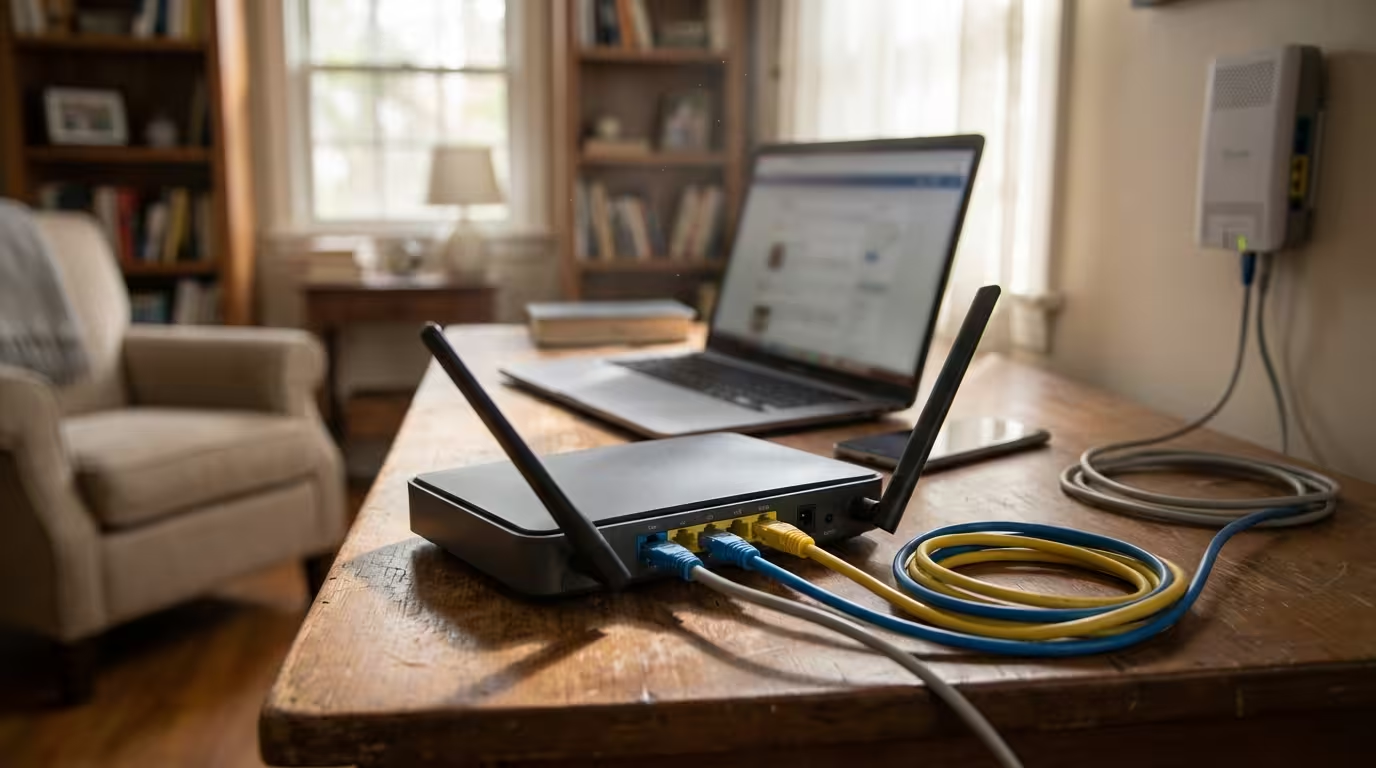
Why Speed Test Numbers Don’t Tell the Full Story
You run a speed test, see 100 Mbps or more, and assume everything should feel instant. But then you open a website and it drags. Video calls stutter. Pages half-load before snapping into place seconds later. This disconnect — where Wi-Fi feels slow but speed test results look fast — is one of the most common and misunderstood problems in home networking.
The reason is straightforward: speed tests measure throughput, which is the maximum rate at which data can be transferred in a single burst. That number represents ideal conditions during a brief, optimized connection to a nearby server. It does not reflect what happens during real browsing, where dozens of small requests fire simultaneously, each one sensitive to delays that a bulk download test simply ignores. Throughput tells you the width of the pipe. It tells you nothing about how smoothly data actually flows through it.
Three hidden metrics control how fast your connection feels: latency, packet loss, and jitter. A speed test won’t flag problems in any of these unless you specifically look for them. That’s why your internet can test fast on paper yet feel painfully slow in practice. Understanding what actually causes the sluggishness is the first step toward fixing it.
The Real Reasons Wi-Fi Feels Slow
When your Wi-Fi is slow but the speed test reads fast, the bottleneck almost always sits in one of five areas that standard speed tests overlook. Each one degrades your experience differently, and they often compound each other.
High Latency (Round-Trip Delay)
Latency is the time it takes for a single data packet to travel from your device to a server and back. It’s measured in milliseconds (ms). When latency is high — say, above 80–100 ms on a local connection — every click, every page load, and every DNS lookup has a built-in delay before anything even begins to transfer. Speed tests can still report high throughput because they measure sustained data flow, not how long it takes each individual request to start. High latency is the number one reason your internet feels slow even though speed looks good.
Packet Loss During Browsing
Packet loss occurs when data packets sent between your device and the destination never arrive. Even 1–2% loss can cause noticeable degradation. Your device must detect the missing packet and request it again, which doubles the effective latency for that piece of data. During browsing, this shows up as images that load partially, pages that hang mid-render, or video streams that buffer unexpectedly. Wi-Fi is especially prone to packet loss because of signal interference, distance from the router, and competing devices on the same channel.
If packet loss appears during ping tests, it may also be accompanied by routing errors such as “destination host unreachable.” See our guide on destination host unreachable ping fix.
Network Jitter and Spikes
Jitter refers to inconsistency in latency — when ping times swing between 10 ms and 200 ms unpredictably. A stable 50 ms latency is manageable; a connection that bounces between 15 ms and 300 ms is not. Jitter disrupts real-time applications like video calls and gaming most severely, but it also affects browsing because the browser cannot predict how long each resource request will take, causing uneven page loads.
Bufferbloat on Router
Bufferbloat is a design flaw in many consumer routers where excessive buffering of packets creates artificial latency spikes under load. When someone on your network starts a large download or upload, the router queues far too many packets in its memory buffer instead of managing them efficiently. This inflates latency from a normal 10–20 ms to 500 ms or more — but only while the network is actively in use. A speed test run in isolation might miss this entirely because no competing traffic is present during the test.
DNS Resolution Delays
Every time you type a URL or click a link, your device sends a DNS query to translate the domain name into an IP address.
If DNS resolution fails or behaves inconsistently, comparing hostname ping with IP ping can quickly reveal the issue. See our guide on why ping works on IP but not hostname.
If your DNS server is slow, overloaded, or far away, each lookup adds 100–500 ms of invisible delay before the actual page even begins loading. Your download speed is irrelevant during this phase — the browser is simply waiting for an answer to the question “where is this server?” Slow DNS is a silent contributor to the feeling that Wi-Fi lags despite fast download speeds, and it’s one of the easiest problems to fix.
Quick Checks to Diagnose the Problem
Before changing any settings, you need to identify which of the five issues from the previous section is actually affecting your connection. Guessing leads to wasted effort. These three diagnostic checks take under five minutes and will immediately reveal whether latency, packet loss, or jitter is the root cause of your slow Wi-Fi despite a fast speed test.
This sends four packets (on Windows) or continuous packets (on macOS/Linux) and reports the time each one takes. Focus on the average value. On a healthy Wi-Fi connection, latency to a major server like Google should be under 30 ms for local regions. If you consistently see values above 80–100 ms, high latency is degrading your browsing experience regardless of what your speed test reports.
Ping replies also include a TTL value that helps estimate how many routers exist between your device and the destination server. To understand how this works in real diagnostics, see our guide on ping shows TTL 117 what it means.
Test Real Latency With Ping
The ping command sends a small packet to a server and measures the round-trip time. Launch the terminal application (use Command Prompt on Windows or Terminal on macOS/Linux) and enter the following command:
ping google.comIn some Windows systems, ping may resolve a hostname to an IPv6 address instead of IPv4, which can affect certain diagnostics. See our guide on ping returns IPv6 instead of IPv4 in Windows 11.
This sends four packets (on Windows) or continuous packets (on macOS/Linux) and reports the time each one takes. Focus on the average value. On a healthy Wi-Fi connection, latency to a major server like Google should be under 30 ms for local regions. If you consistently see values above 80–100 ms, high latency is degrading your browsing experience regardless of what your speed test reports.
Run Continuous Ping to Spot Spikes
A single ping test gives you a snapshot, but jitter and intermittent spikes only appear over time. On Windows, run a sustained test with:
ping google.com -tOn macOS or Linux, the default ping command already runs continuously. Let it run for two to three minutes while using your network normally — stream a video, browse a few pages, or let someone else on the network do their usual activity. Watch for sudden jumps where latency leaps from 20 ms to 300 ms or higher. These spikes indicate either bufferbloat under load, Wi-Fi interference, or channel congestion. Press Ctrl + C to stop the test and review the summary statistics it prints at the end.
For deeper diagnostics, many administrators run continuous ping tests with timestamps to monitor latency spikes over time. See our guide on ping with timestamp command explained.
Check Packet Loss Percentage
When you stop the continuous ping, the summary line shows how many packets were sent versus how many were received. The difference is your packet loss percentage. On a stable connection, this should be 0%. Even 1% packet loss is noticeable during browsing, and anything above 3% will cause serious disruption — pages stalling, video calls freezing, and downloads restarting mid-stream. If you see consistent loss, the problem is almost certainly related to your Wi-Fi signal quality, router performance, or interference from nearby networks.
How to Fix High Latency on Wi-Fi
Once diagnostics confirm that latency is the issue, the goal is to reduce the round-trip time between your device and the router — and from the router to the internet. Most high-latency problems on home Wi-Fi originate in the wireless link itself, not the ISP connection.
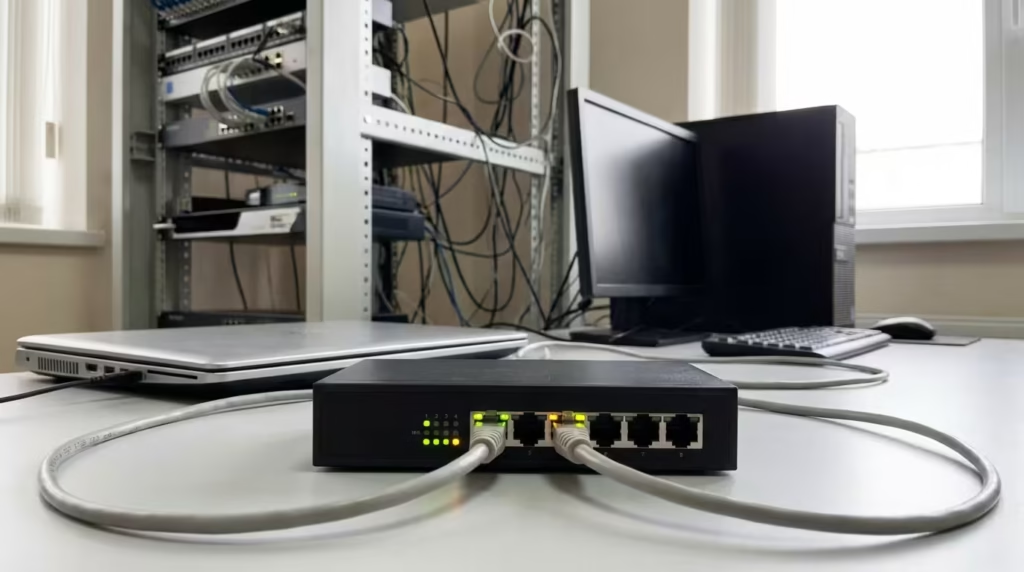
Switch to Wired Connection
The single most effective way to drop Wi-Fi latency is to bypass Wi-Fi entirely. Connect your device to the router using an Ethernet cable and run the same ping test. If latency drops significantly — for example, from 60 ms to 8 ms — the problem is confirmed to be in the wireless link. For stationary devices like desktops, gaming consoles, or smart TVs, a wired connection should always be the default. Even a long Ethernet run across a room will outperform a strong Wi-Fi signal in terms of latency consistency.
Change Wi-Fi Channel
Wi-Fi routers broadcast on specific channels within the 2.4 GHz and 5 GHz bands. In dense environments like apartments, multiple routers often share the same channel, causing co-channel interference that raises latency and triggers packet retransmissions. Log into your router’s admin panel — typically at 192.168.0.1 or 192.168.1.1 — and check which channel your Wi-Fi is set to. On the 2.4 GHz band, channels 1, 6, and 11 are the only non-overlapping options. Use a free tool like Wi-Fi Analyzer (Android) or the built-in wireless diagnostics on macOS to scan which channels are least crowded, then manually set your router to the clearest one. Avoid leaving the channel on “Auto” in congested environments, as the router may not always choose optimally.
Use 5GHz Band
If your router supports dual-band operation, switching your device to the 5 GHz band can dramatically reduce latency. The 5 GHz spectrum has more available channels and is far less congested than 2.4 GHz in most homes. The tradeoff is shorter range — 5 GHz signals weaken faster through walls and distance. But if you are within reasonable range of the router, the latency improvement is significant. Many routers broadcast both bands under the same network name, which causes devices to connect unpredictably. Separating the SSIDs — naming one “HomeNetwork_2.4G” and the other “HomeNetwork_5G” — gives you manual control over which band each device uses, letting you push latency-sensitive devices like laptops and phones onto the faster 5 GHz link.
Reduce Packet Loss on Wi-Fi
Packet loss is the silent killer of smooth browsing. Even when your speed test shows 200 Mbps, a 2% packet loss rate means one in fifty requests fails and must be resent. That translates to pages that hang, videos that buffer unexpectedly, and downloads that stall. Unlike latency, which adds a fixed delay, packet loss introduces unpredictable pauses that make your connection feel unreliable. The good news: most Wi-Fi packet loss is fixable with targeted adjustments to your environment and router settings.
Move Closer to Router
The simplest and most effective way to reduce packet loss is to improve signal strength. Wi-Fi signals degrade with distance and obstacles. A device at the edge of your router’s range may show full bars but still experience high packet loss due to weak signal-to-noise ratio. Move your device closer to the router — even just a few meters can make a difference. If relocation isn’t possible, consider repositioning the router itself. Place it in a central, elevated location, away from thick walls, metal objects, and appliances like microwaves or cordless phones that emit interference on the 2.4 GHz band. A clear line of sight between your device and the router minimizes retransmissions and keeps packet loss near zero.
Reduce Interference
Wi-Fi operates in unlicensed spectrum, meaning it shares airwaves with everything from baby monitors to Bluetooth headphones. Interference causes packet collisions, forcing your device to resend data. The 2.4 GHz band is especially vulnerable because it’s crowded and only has three non-overlapping channels. To minimize interference:
- Turn off unused wireless devices like old printers, smart home gadgets, or guest networks.
- Disable Bluetooth on devices that don’t need it while using Wi-Fi.
- Avoid microwave ovens during critical tasks — they emit powerful noise on 2.4 GHz.
- Use 5 GHz whenever possible, as it has more channels and less interference.
- Enable beamforming in your router settings if supported. This technology focuses the Wi-Fi signal directly toward your device, improving signal quality and reducing packet loss.
Update Router Firmware
Outdated router firmware is a common but overlooked cause of packet loss. Manufacturers regularly release updates that fix bugs, improve signal stability, and patch security vulnerabilities. An old firmware version may have inefficient packet handling, leading to dropped connections or retransmissions. To update:
- Log into your router’s admin panel (usually via
192.168.0.1or192.168.1.1). - Look for a Firmware Update or Router Update section.
- Check for the latest version and follow the prompts to install it.
- Reboot the router after updating to ensure changes take effect.
If your router has been in use for over five years, it may be time to replace it with a newer model. Older models lack modern features like MU-MIMO, beamforming, and better interference rejection, all of which help maintain stable connections and reduce packet loss.
Eliminate Bufferbloat and Jitter
Bufferbloat and jitter turn a fast connection into a frustrating one. Bufferbloat creates artificial latency spikes when your network is under load, while jitter makes those spikes unpredictable. Together, they make browsing feel sluggish even when your speed test shows excellent results. The good news: both problems are fixable with the right router settings and tools.
Enable QoS on Router
Quality of Service (QoS) is a router feature that prioritizes certain types of traffic — like video calls or gaming — over bulk downloads. Without QoS, your router treats all traffic equally, allowing large downloads to fill its buffer and delay time-sensitive packets. Enabling QoS prevents this by capping how much bandwidth background tasks can use, ensuring smooth performance for real-time activities.
To enable QoS:
- Log into your router’s admin panel.
- Look for QoS, Traffic Prioritization, or Bandwidth Control.
- Enable the feature and set priorities. Most routers allow you to prioritize by device (e.g., your laptop) or by application (e.g., Zoom or YouTube).
- If available, choose Smart Queue Management (SQM) or FQ_Codel, which are advanced algorithms designed to combat bufferbloat. These dynamically adjust bandwidth allocation to minimize latency under load.
If your router doesn’t support QoS, If your router doesn’t support QoS, consider flashing it with open-source firmware like OpenWRT. which include SQM and other bufferbloat-fighting tools.
Limit Bandwidth Slightly
Paradoxically, limiting your bandwidth slightly can reduce latency and jitter. When your connection is fully saturated, the router’s buffer fills up, causing delays. By capping bandwidth to 90–95% of your maximum speed, you leave room for the router to manage traffic more efficiently. This prevents bufferbloat and keeps latency stable even during heavy use.
To implement this:
- Use your router’s Bandwidth Control or Traffic Shaping settings.
- Set an upload and download limit to 90–95% of your ISP-provided speed. For example, if your plan is 100 Mbps, cap it at 90–95 Mbps.
- Apply the limit to all devices or just high-bandwidth ones like smart TVs or gaming consoles.
This small reduction won’t noticeably affect download speeds but will make your connection feel far more responsive during real-world use.
Test with Bufferbloat Tools
To confirm whether bufferbloat is affecting your connection, To confirm whether bufferbloat is affecting your connection, use a dedicated testing tool like Waveform’s Bufferbloat Test. or DSLReports Speed Test (dslreports.com/speedtest). These tools simulate real-world traffic by running a speed test while simultaneously measuring latency. A healthy connection will show minimal latency increase under load (e.g., 10–20 ms). If your latency jumps to 200 ms or more during the test, bufferbloat is the culprit.
If the test confirms bufferbloat, revisit your QoS or bandwidth-limiting settings. For advanced users, tools like OpenWRT with SQM or pfSense offer granular control over traffic shaping and can eliminate bufferbloat entirely.
DNS and Browser Fixes
Even after resolving latency, packet loss, and bufferbloat, your browsing can still feel sluggish if DNS lookups are slow or your browser is bogged down with cached data. These are the last-mile bottlenecks — easy to overlook but equally easy to fix.
Flush DNS Cache
Your operating system stores DNS records locally so it doesn’t have to look up the same domain repeatedly. Over time, this cache can accumulate stale or corrupted entries that point to outdated IP addresses, causing failed lookups and unnecessary delays. Flushing the DNS cache forces your system to fetch fresh records.
On Windows, open Command Prompt as administrator and run:
ipconfig /flushdnsIf network connectivity problems continue after flushing DNS, resetting the Windows TCP/IP stack may be required. See our guide on what does netsh int ip reset actually do.
On macOS, open Terminal and run:
sudo dscacheutil -flushcache; sudo killall -HUP mDNSResponderOn Linux (systemd-based distributions):
sudo systemd-resolve --flush-cachesEach of these commands clears the locally stored DNS records. After flushing, the first visit to any website will take slightly longer as a fresh lookup occurs, but subsequent visits will use updated records. This is a quick fix that eliminates an entire category of invisible browsing delays.
Switch to Fast DNS (1.1.1.1 or 8.8.8.8)
Your ISP assigns a default DNS server automatically, and in many cases, that server is slow, overloaded, or poorly maintained. Switching to a faster public DNS provider can cut DNS resolution time from 80–200 ms down to 5–15 ms per lookup. Since a single webpage can trigger 20–50 DNS queries for different domains (ads, fonts, scripts, images), the cumulative improvement is substantial.
Two widely trusted options:
- Cloudflare DNS (1.1.1.1) is widely used for fast and privacy-focused DNS resolution.
- Another reliable option is Google Public DNS (8.8.8.8), which provides globally distributed DNS infrastructure.
To change DNS on your device:
- Open your network adapter settings (Wi-Fi or Ethernet).
- Find the DNS server configuration (under IPv4 or TCP/IP settings).
- Replace the existing entries with your preferred DNS addresses.
- Save and reconnect.
For a network-wide change, configure the DNS servers directly in your router’s WAN or Internet settings. This ensures every device on your network benefits without individual configuration.
Clear Browser Cache
Browsers cache CSS files, JavaScript, images, and other assets to speed up repeat visits. But when cached files become outdated or corrupted, they conflict with updated versions on the server. The browser may try to load a broken cached resource, fail, then fetch it again — adding unnecessary delay to every page load.
To clear the cache:
- Chrome:
Settings > Privacy and Security > Clear Browsing Data > Cached images and files - Firefox:
Settings > Privacy & Security > Cookies and Site Data > Clear Data - Edge:
Settings > Privacy, search, and services > Clear browsing data
Select “All time” as the time range to ensure nothing stale remains. After clearing, the first load of frequently visited sites will be slightly slower as assets are re-downloaded, but subsequent loads will be faster and more reliable. If you want a quick test before fully clearing the cache, try loading a slow page in an incognito or private window — this bypasses the cache entirely and tells you whether cached data is part of the problem.

Final Wi-Fi Slow Troubleshooting Checklist
When your Wi-Fi feels slow but speed test results are fast, work through this checklist in order. Each step builds on the previous one, moving from diagnosis to targeted fixes.
Diagnose first:
- [ ] Run
ping google.comand check if average latency exceeds 50 ms - [ ] Run a continuous ping for 2–3 minutes and note any spikes above 150 ms
- [ ] Check packet loss percentage — anything above 0% needs attention
- [ ] Run a bufferbloat test to measure latency under load
Fix the wireless link:
- [ ] Switch latency-sensitive devices to a wired Ethernet connection
- [ ] Change the Wi-Fi channel to the least congested option (1, 6, or 11 on 2.4 GHz)
- [ ] Switch to the 5 GHz Wi-Fi band to reduce latency and minimize signal interference.
- [ ] Reduce the distance between your device and the router, or place the router in a central location within your home.
Stabilize the connection:
- [ ] Check for and install the most recent firmware update available for your router.
- [ ] Enable QoS or SQM to prevent bufferbloat
- [ ] Cap bandwidth at 90–95% of your plan speed to reduce buffer buildup
- [ ] Remove unnecessary wireless devices from the network
Optimize DNS and browser:
- [ ] Flush your DNS cache
- [ ] Switch to Cloudflare (1.1.1.1) or Google DNS (8.8.8.8)
- [ ] Clear your browser cache and test in an incognito window
If you complete every step on this list and the problem persists, the issue likely sits beyond your home network — either with your ISP’s infrastructure, routing congestion between your ISP and the destination server, or a problem on the server side itself. At that point, the next step is to contact your ISP with your diagnostic data in hand.
FAQ – Common Questions & Answers
Why does Wi-Fi feel slow even when speed test is fast?
Speed tests measure raw throughput — the maximum data transfer rate during a short, optimized burst. They don’t capture latency, packet loss, or jitter, which are the three factors that determine how responsive your connection actually feels during everyday use. A connection with 200 Mbps throughput but 150 ms latency and 2% packet loss will feel far slower than a 50 Mbps connection with 10 ms latency and zero loss. The speed test number reflects capacity, not quality.
What causes slow browsing with good download speed?
Multiple factors can degrade browsing even on a fast connection. DNS resolution delays add invisible wait time before pages begin loading. High latency means every request takes longer to initiate. Packet loss forces retransmissions that double or triple individual request times. Bufferbloat creates massive latency spikes when other devices on the network are active. And browser cache corruption can cause failed resource loads and redundant downloads. Any combination of these issues will make browsing feel sluggish regardless of raw download speed.
Is packet loss the reason for slow Wi-Fi?
Packet loss is one of the most common reasons, especially on Wi-Fi. Even 1–2% loss introduces noticeable delays because every lost packet must be detected and retransmitted. On a single webpage that loads 50–100 resources, even a small loss percentage means several requests will fail on the first attempt. The result is pages that load unevenly — some elements appear instantly while others hang for seconds. If your continuous ping test shows any non-zero packet loss, addressing signal quality and interference should be your priority.
How do I test if latency is making Wi-Fi slow?
Open a terminal or command prompt and run ping google.com -t (Windows) or ping google.com (macOS/Linux). Watch the round-trip time values for 2–3 minutes. On a healthy local Wi-Fi connection, average latency to a major server should be under 30 ms. If you see averages above 80 ms or frequent spikes above 150 ms, latency is actively degrading your browsing experience. Compare the results over Wi-Fi versus a wired Ethernet connection to confirm whether the wireless link is the bottleneck.
Does bufferbloat cause slow Wi-Fi?
Yes, and it’s one of the most underdiagnosed causes. Bufferbloat occurs when your router buffers too many packets during heavy network use, inflating latency from normal levels to 500 ms or more. The critical detail is that bufferbloat only appears under load — when someone is downloading a large file, streaming 4K video, or uploading backups. A standard speed test run in isolation won’t reveal it. Use a dedicated bufferbloat test that measures latency while simultaneously saturating the connection. If latency spikes dramatically under load, enable SQM or QoS on your router and cap bandwidth at 90–95% of your plan speed.
Can changing DNS make Wi-Fi faster?
Changing DNS won’t increase your download speed, but it can significantly reduce browsing delays. Every new domain your browser contacts requires a DNS lookup before any data transfers. If your ISP’s DNS server takes 100–200 ms per lookup and a page triggers 30 lookups, that’s 3–6 seconds of pure waiting time before content even starts loading. Switching to Cloudflare (1.1.1.1) or Google DNS (8.8.8.8) typically brings lookup times down to 5–15 ms each, eliminating a major source of perceived slowness.
Why is 5GHz faster for browsing?
The 5 GHz band offers more available channels, wider channel bandwidth, and significantly less interference compared to 2.4 GHz. In most residential environments, the 2.4 GHz band is crowded with neighboring routers, Bluetooth devices, microwaves, and IoT gadgets — all competing for three non-overlapping channels. The 5 GHz band has up to 25 non-overlapping channels depending on your region, meaning far less congestion and fewer packet collisions. The tradeoff is reduced range through walls, but within a reasonable distance from your router, 5 GHz delivers lower latency, less jitter, and more consistent performance for browsing and real-time applications.
When should I upgrade my router?
Consider upgrading if your router is more than five years old, lacks support for Wi-Fi 5 (802.11ac) or newer, does not offer QoS or SQM settings, or no longer receives firmware updates from the manufacturer. Older routers often have underpowered processors that cannot handle modern traffic loads efficiently, leading to bufferbloat and dropped connections even on fast ISP plans. They may also lack features like beamforming, MU-MIMO, and band steering that improve signal quality and reduce packet loss. If you’ve completed every troubleshooting step in this article and your connection still feels slow, an outdated router is the most likely remaining bottleneck.
To summarize: when your Wi-Fi feels slow but speed tests show fast results, the problem is almost never about bandwidth. It’s about latency, packet loss, jitter, bufferbloat, or slow DNS — metrics that standard speed tests ignore. Diagnose with ping tests and bufferbloat tools first, then apply targeted fixes: optimize your Wi-Fi channel and band, enable QoS, update firmware, switch DNS providers, and clear stale caches. Work through the checklist methodically, and most users will see a dramatic improvement in real-world browsing responsiveness.
If the problem persists after all steps, contact your ISP with your diagnostic results — specifically your ping averages, packet loss percentage, and bufferbloat test scores. This gives their support team concrete data to investigate routing issues, line quality, or infrastructure problems on their end. Don’t accept “your speed test looks fine” as a resolution — the data you’ve collected proves the issue goes beyond raw throughput.